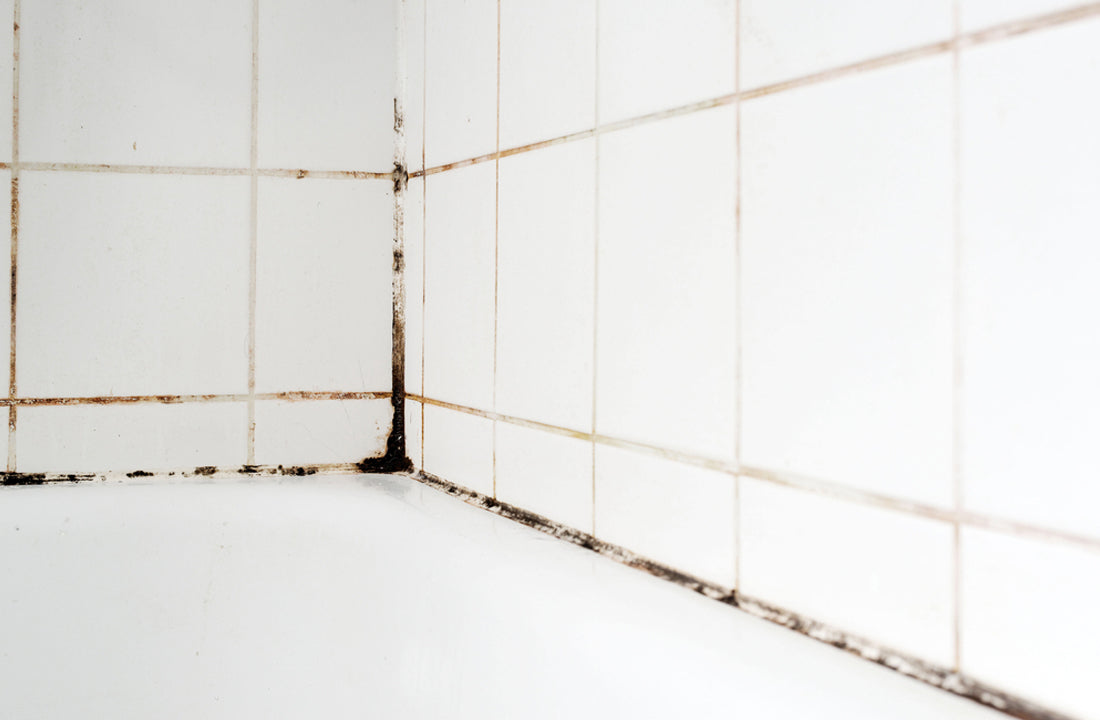
Are you tired of scrubbing the grouts in your floor with harsh chemicals only to find them still looking dingy and stained? Fear not; we have a solution for you. No, you don't need to get all sciency and turn your floor into a lab with baking soda, vinegar, and whatnot!! A floor disinfectant does the job just as well.
A floor disinfectant (or a floor cleaner liquid) is a budget-friendly solution to your stained grouting woes, packed with powerful ingredients that will leave your grout gleaming. Floor cleaner liquids are easy and pretty simple to use, so you don’t have to spend hours on your hands and knees.
Through this blog, we will provide valuable tips to make your grout cleaning experience as painless and joyful as possible. So, grab your favorite disinfectant liquid and let’s get ready to turn those drab grouts into show-stopping works of art!
Grouting Types 101: Know Your Grout Before You Clean It
Before diving into cleaning your grouts, it’s important to understand the different types of grouts and what cleaning method works best for each. The two main types of grouts are cement-based and epoxy-based. Additionally, grouts can be either sanded or unsanded.
1. Cement-based grout is porous, making it more susceptible to staining and mold. It is commonly used in bathroom and kitchen areas and is best cleaned with a mixture of water and mild detergent.
2. Epoxy-based grout is non-porous and resistant to staining and mold. This type of grouting is most commonly used in commercial spaces and requires a strong, effective cleaner to remove dirt and grime
3. Sanded grout is made with larger particles of sand.
4. Unsanded grout is made with finer particles of sand.
Knowing the type of grout you have, whether cement-based, epoxy-based, sanded, or unsanded, will make cleaning easier and more effective. Also, it ensures a sparkling clean result every time.

Effective ways to clean your grouting
Here are five easy steps to clean your grouting effectively:
Step 1: Gather your cleaning materials
Before you start cleaning, you need to gather all the necessary materials. You will need a scrub brush or an old toothbrush, a cleaning solution, and some warm water. You can use a store-bought disinfectant floor cleaner liquid or make your own by mixing baking soda and water.
Step 2: Prep the area
Before you start cleaning your grouting, let's make sure you're all set up. Grab some painter's tape or newspaper to protect the area around the grouting, and put on your favorite music to get in the zone. Cleaning can be fun when you've got a good soundtrack! By prepping the area, you'll avoid any accidents or spills, and you'll be able to focus on getting those grout lines looking fresh and clean. So, take a moment to get organized, put on some tunes, and let's get cleaning!
Step 3: Apply the cleaning solution
It's time to apply the cleaning solution. If you're using a store-bought cleaner, follow the instructions on the label. One effective option for cleaning grout is Born good's Disinfectant floor cleaner liquid. This eco-friendly cleaning solution is made with natural ingredients like neem extract and citric acid, which are known for their antiviral and antibacterial properties. To use, dilute the solution with water as per the instructions on the label and apply it directly to the grout lines. Let it sit for 5-10 minutes to allow it to work effectively.
Pro tip: For extra stubborn stains, soak a cloth in your favorite floor disinfectant and place it on the stain for 30 minutes. The disinfectant will work its magic and make the stain easier to scrub away.
If you're making your own cleaning solution, you can mix baking soda and water to create a paste, which can be applied directly to the grout lines. Let it sit for 5-10 minutes as well.
Regardless of the cleaning solution you use, it's essential to follow the instructions carefully to ensure you use the correct amount and that the solution is applied correctly.
Step 4: Scrub the grout

Once the cleaning solution has had time to work, it's time to start scrubbing the grout. Use your brush to scrub back and forth along the grout lines. Apply firm pressure to really get in there and remove any dirt or grime. You may need to repeat this step a few times if the grout is especially dirty.
Use a magic eraser to remove scuffs and marks from your grouting. This simple hack is a lifesaver for pet parents trying to keep their grouting looking its best.
Step 5: Rinse and dry
Once you've scrubbed the grout, it's time to rinse away the cleaning solution. Use warm water and a clean cloth or sponge to wipe out the cleaning solution. Be sure to rinse thoroughly, so you don't leave any cleaning solution behind. Finally, dry the area with a clean rag or towel.
And that's it! Follow these five steps, and your grout should look clean and fresh in no time. Remember to clean your grout regularly to keep it looking its best.
We hope this blog has provided you with a perfect solution for your grout-cleaning woes. Don’t hesitate to try Born Good’s eco-friendly products and see the difference for yourself!
Happy cleaning, everyone!


